Measured guide · in-house test data
How to Share iPhone HEIC Photos with Windows and Android
HEIC is not a broken photo. It is an efficient container used by current Apple devices, but the receiving website or application may support only older formats. The safest workflow is to preserve the original and create a correctly oriented JPG sharing copy for the specific destination.
By Prashantkumar Kishanrao Sundge · Published · Reviewed
What this guide establishes
- Renaming a .heic file to .jpg does not convert it. Strict receivers read the file signature, not the extension, and will reject the renamed file.
- Keep the HEIC original and create a separate JPG sharing copy. Replacing your archive with a lossy JPG is a one-way loss.
- Orientation is the failure people notice last. A HEIC that looks upright on the iPhone can arrive sideways if the receiver ignores the EXIF orientation tag.
- A still JPG cannot carry Live Photo motion, burst frames, or depth data. Those live in the container you are converting away from.
- If the destination also states a size or dimension limit, conversion alone is not enough — use the Upload-Ready Image Builder instead.
What HEIC actually is, and why your iPhone uses it
HEIC is the file extension Apple uses for images stored in the HEIF container. Apple documents that HEIF offers more efficient storage than JPEG, which is why a modern iPhone can hold far more photos than the same device would using JPEG at comparable visual quality. The efficiency comes from a newer compression approach, not from any trick that makes the photo lower quality.
The container is also more capable than JPEG. A single HEIC file can hold more than one image, which is how Live Photos, burst sequences, and some depth and portrait effects are stored. That capability is precisely what makes conversion lossy in a way people do not expect: a JPG has room for exactly one still image and nothing else.
None of this means HEIC is a problem to be eliminated. It means the format is newer than a great deal of the software still in daily use. When a website built years ago validates uploads against a list of extensions written before HEIF existed, your photo is refused for reasons that have nothing to do with its content.
Identify the real failure before converting anything
First read the destination's accepted extensions and maximum size. A form that says JPG or PNG will reject genuine HEIC bytes even if you rename the extension. Renaming changes the label, not the encoded content or file signature.
This trips up more people than any other step, so it is worth being precise about why. Every image format begins with a short, fixed byte sequence that identifies it — a magic number, or file signature. A JPEG starts with the bytes FF D8 FF. A HEIC file carries an 'ftyp' box naming a HEIF-family brand. Renaming the file changes only the characters after the dot in the filename; the first bytes of the file are untouched. Any validator that opens the file and checks those bytes — which is most of them, and all of the strict ones — sees HEIC and refuses it.
So before you do anything, work out which rule you are actually failing. If the error says the format is unsupported, you need a real conversion. If it says the file is too large, conversion alone may not help — a HEIC converted to JPG at high quality can easily come out larger than the HEIC it came from, because you have given up the more efficient compression. If it says the dimensions are wrong, you need resizing, not conversion. These are three different problems and they have three different fixes.
Create a compatible copy
Use the dedicated HEIC to JPG converter so both directions are locked. PixelConvert checks the file signature, decodes HEIC, applies the orientation recorded by the source, and encodes a separate JPG. Choose a reasonable quality, then open one output before processing a large batch.
Test with one file first. This sounds obvious and is skipped constantly. Converting forty photos and discovering afterwards that they are all rotated, or all compressed harder than you wanted, costs far more time than checking a single result. Open the first output at full size, look at it, and only then run the batch.
If the form also specifies a maximum size or dimensions, use the Upload-Ready Image Builder instead. It can find the highest JPEG quality below the requested ceiling and reduce dimensions only in fit mode when necessary. The distinction matters: the plain converter answers 'make this a JPG', while the builder answers 'make this a JPG that satisfies these specific numeric rules'.
On quality: there is rarely a good reason to encode a sharing copy below about quality 80 unless a byte ceiling forces it. The visible cost of quality 60 on a photograph with faces or fine texture is real, and once encoded it cannot be undone. If you have room under the limit, use it.
Orientation: the failure people notice last
A photograph taken with a phone held sideways is very often stored as a landscape pixel grid plus an EXIF orientation tag saying 'rotate this before display'. Apple's own software reads that tag and shows the photo upright, which is why the problem is invisible until the file leaves the Apple ecosystem.
Software that ignores the tag displays the raw pixel grid — sideways. This is why a photo that looked perfect in your camera roll arrives rotated in a colleague's document, an older content management system, or a print workflow. The file is not corrupt and the recipient is not doing anything wrong; the two programs simply disagree about whether that tag is advisory.
The durable fix is to bake the rotation into the pixels rather than relying on a tag. PixelConvert applies the recorded orientation to the pixel data during conversion and writes an upright output, so there is no tag left for the receiver to ignore. The measured test below shows this: a 640×420 source carrying orientation tag 6 becomes a genuinely upright 420×640 output, with the dimensions swapped in the file itself.
Check what does not transfer
A still JPG does not carry Live Photo motion, every image in a multi-image container, or all capture metadata. PixelConvert intentionally rewrites prepared outputs without EXIF/GPS metadata. If you need camera information for an archive, keep the original HEIC alongside the sharing copy.
Be specific about what you are giving up, because some of it matters and some of it does not. Live Photo motion and burst frames are genuinely gone — the JPG has nowhere to put them. Depth and portrait-effect data is gone, which means the recipient cannot re-edit the background blur. Capture metadata such as the camera model, lens, exposure settings, and timestamp is not copied into PixelConvert output by design.
The metadata removal is usually what you want for a photo you are sending to a stranger, a job portal, or a public forum, because GPS coordinates in a personal photo are a real privacy exposure. It is not what you want for a photo you are archiving or submitting as evidence. Keep the original and send the derivative; this costs you nothing but disk space and removes the entire dilemma.
Sending to Windows specifically
Recent versions of Windows can display HEIC in File Explorer and the Photos app, sometimes after installing a codec from the Microsoft Store. That support is genuine, but it only covers viewing in Microsoft's own applications. It does not extend to every third-party program on the machine, and it does not help at all when the bottleneck is a website's upload validator running on a server somewhere else.
In practice this means a Windows recipient may be able to open your HEIC and still be unable to use it — they can look at it but not attach it to the system their employer uses, or import it into an older editing application. When you are sending a file for someone else to do something with, send the JPG.
Verify the downloaded file in the same application or browser the recipient will actually use, not just in a preview pane. Compatibility depends on application versions, not only on the operating system name.
Sending to Android specifically
Android's support for HEIF has improved substantially and many current devices display HEIC without complaint. As with Windows, the gap is not the operating system but everything layered on top of it: messaging apps that re-encode attachments, older apps bundled by a manufacturer, and web upload forms that never updated their extension list.
Messaging apps deserve particular attention because they frequently re-compress images silently. If you send a carefully prepared photo through a chat application, the recipient may receive a substantially smaller and visually degraded copy that you never approved. When quality matters, send the file as a document or attachment rather than as an inline image, or use a file-transfer method that does not re-encode.
If the recipient is going to upload your photo somewhere themselves, ask which formats that destination accepts before you send anything. It saves a round trip.
Stop the problem at the source
If you regularly send photos to people outside the Apple ecosystem, you can change what the camera writes in the first place. On iOS, Settings › Camera › Formats offers a choice between High Efficiency, which captures HEIF/HEVC, and Most Compatible, which captures JPEG. Choosing Most Compatible means the camera produces JPG directly and the conversion step disappears.
The trade-off is real and worth stating plainly: JPEG files take noticeably more storage for comparable quality, and you give up the container features that make Live Photos and some portrait effects possible. For someone who mostly shares photos into mixed-platform environments, that is often a fair exchange. For someone who mostly keeps photos in Apple's ecosystem and shares occasionally, it is not — convert the occasional file instead.
There is also a transfer setting worth knowing: Settings › Photos includes an option controlling whether photos are converted to a compatible format when transferred to a Mac or PC, or transferred as the original. Understanding which one you have selected explains a lot of otherwise confusing behavior when copying photos off the device by cable.
A workflow you can repeat
Put the steps in a fixed order and the failures stop being mysterious. First, read the destination's actual rules — accepted formats, maximum bytes, required dimensions. Second, decide whether you need conversion only, or conversion plus size and dimension work. Third, convert or prepare one file. Fourth, open that one file and look at it: orientation, framing, visible quality. Fifth, run the batch. Sixth, keep the originals.
That sequence takes under a minute once you have done it twice, and it eliminates the two expensive mistakes — batching before verifying, and overwriting an original with a derivative. Neither can be undone afterwards.
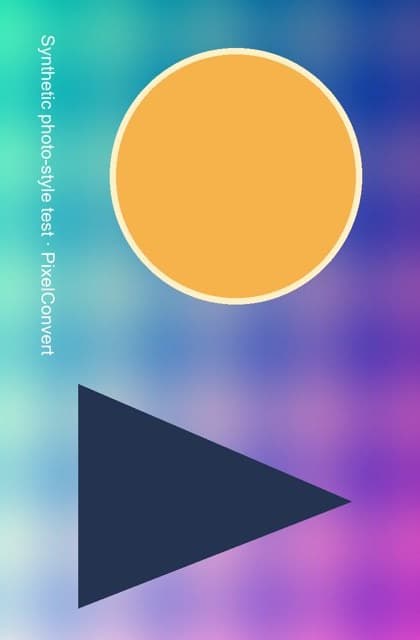
Synthetic orientation test. A 640×420 JPEG carrying orientation tag 6 was transposed into a 420×640 upright copy; the same orientation stage is used when preparing HEIC inputs for JPEG, PNG, or WebP output.
- Tagged source
- 640×420 · 25,668 bytes
- Oriented copy
- 420×640 · 24,806 bytes
- Metadata policy
- Prepared output does not copy EXIF/GPS
Reproduce the test
These deterministic PixelConvert files contain no personal photos or third-party artwork. Download them to repeat the measurements or test another workflow.
- Download the orientation-tagged source ↓
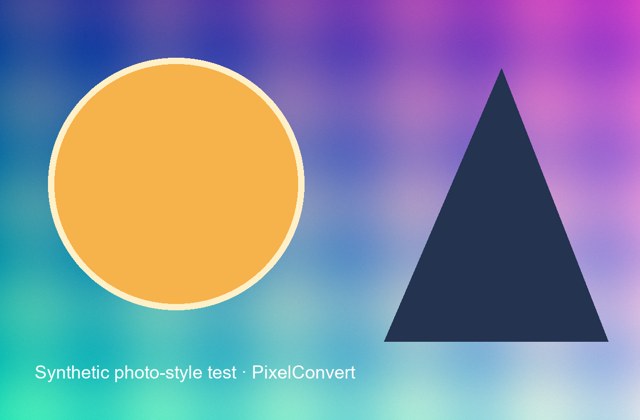
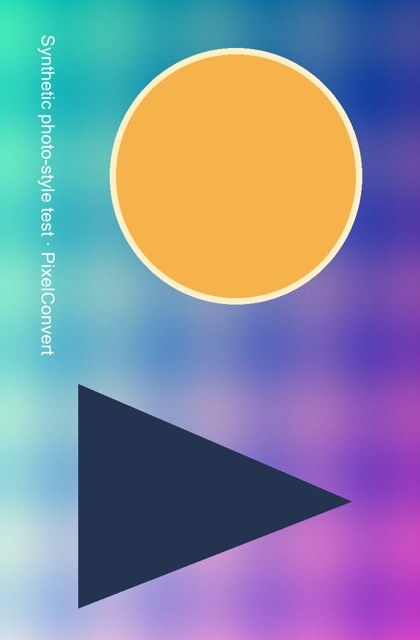
Synthetic 640×420 JPEG carrying EXIF orientation 6.
- Download the corrected output ↓
Upright 420×640 derivative saved without the source EXIF block.
Browser and failure checks
- Current Chromium desktop
- The tagged source and corrected output display upright; the prepared output reports 420×640 pixels.
- 390 px mobile viewport
- The locked HEIC→JPG controls, limitation text, and download action remain reachable without horizontal scrolling.
- HEIC preview fallback
- When the browser cannot decode HEIC locally, PixelConvert defers decoding and validation to the server rather than claiming a local preview.
How this was tested
Generated with Pillow 12.3 using a deterministic synthetic scene. The source received EXIF orientation value 6, was reopened, transposed with the same orientation operation used by the service, and saved without the original EXIF block.
Read the full PixelConvert methodology →Limitations
- The evidence image is JPEG because a redistributable synthetic HEIC encoder is not part of the production stack; it tests the shared orientation stage, not HEIC compression.
- Application support changes over time; test the actual recipient workflow.
- iOS setting names and menu paths are described as of September 2026 and can change between releases.
Frequently asked questions
- Can I just rename the .heic file to .jpg?
- No. Renaming changes the filename, not the encoded bytes. Any receiver that checks the file signature or tries to decode the image will see HEIC and reject it. Some lenient systems accept the rename, which is why the myth persists, but it fails exactly when the destination is strict.
- Will converting HEIC to JPG reduce the quality?
- Yes, slightly, because JPEG is a lossy format and you are creating a new encode. At a sensible quality setting the difference is not visible for ordinary sharing. The loss is permanent in the copy, which is why you keep the HEIC original.
- Why is my converted JPG larger than the HEIC it came from?
- Because HEIC compresses more efficiently than JPEG at comparable quality. Giving up that efficiency costs bytes. If you are also under a size limit, use the Upload-Ready Image Builder, which searches for the highest quality that fits your ceiling.
- What happens to my Live Photo?
- Only the still frame is converted. The motion component cannot be stored in a JPG. If the movement matters, keep the HEIC original or export the Live Photo as a video separately.
- Does PixelConvert keep my GPS location in the converted file?
- No. Prepared outputs are rebuilt without EXIF and GPS metadata by design. This is usually what you want when sending a photo to a third party. If you need the capture metadata preserved, keep the original file.
- Can PixelConvert convert JPG back to HEIC?
- No. HEIC is supported as an input format only. Converting back would not restore anything lost in the JPG encode, so the workflow is deliberately one-directional.
Revision note: Reviewed 11 September 2026: expanded with platform-specific guidance for Windows and Android, iOS capture-format settings, a dedicated orientation explanation, and a repeatable workflow. The underlying orientation measurement is unchanged from the 2 September 2026 capture.